THE ROUNDHOUSE
This was our first venture into experimental archaeology. We visited two roundhouses in Sheffield, Sheffield City Farm (which had partially been burnt down by local rapscallians and St Wilfreds School, and then the Ryedale Folk Museum at Hutton-
Of course, other groups had made their own roundhouses but we did not look too closely at those as we wanted to come at this with our own ideas.
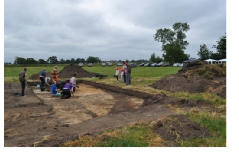
We were subsequently loaned a 10m x 10m corner of the same field in which the real roundhouse traces had been found at Parkhouse Farm, as the Chairman of the Society is the farmer, with his brother. Our first job was to fence off the corner to prevent bovine interference from the resident cows.
At this point I will mention the materials we obtained to construct the building. We considered that Iron Age tribes would use whatever resources were available to them and, since there is not and probably was not then, 2000 years ago, a source of local stone, everything would be organic. We propositioned that they would not waste time and effort transporting stone over huge distances-
The roof beams were supplied free by Natural England from Allerthorpe Common in the form of straight growing alder stems. The thatch was initially a problem as it was so wet that autumn that we could not get into the wetlands to harvest reeds (Fragmites) and using the adage ‘whatever was available to them’ we chose to go for elephant grass (Miscanthus) which was grown, again for biomass, nearby at Redmoor Farm. The last material we needed was clay for the daub. We had plenty of water, straw and cow dung, (produced on site!!!) but one of our members was well-
So far, our roundhouse had cost us £200 for the fencing, and everything else was free but for a small donation to two of the farmers.
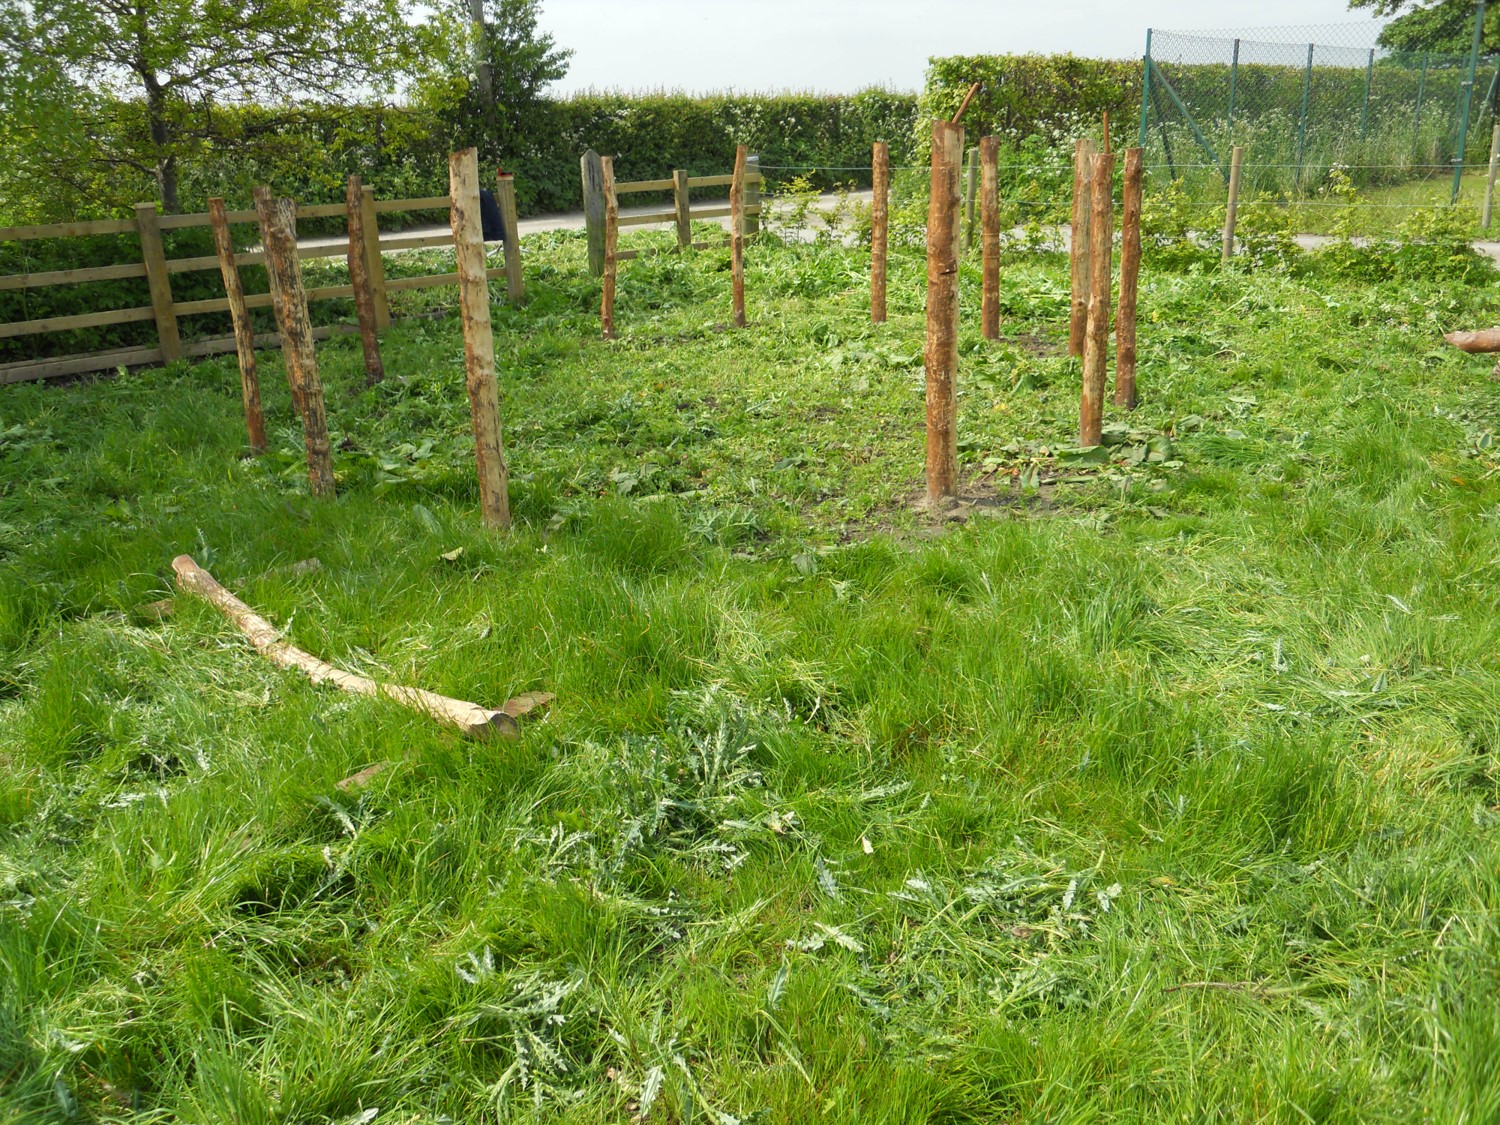
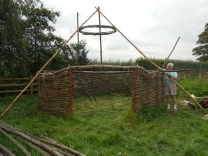
We started by stripping the bark from the posts and treated them with wood preservative (our first compromise) – perhaps in the Iron Age they would have used animal oils, tallow etc). We then dug the post holes and started to erect the posts of the roundhouse. We set the posts one meter apart as that is typically what has been found in the archaeological record for a roundhouse of roughly the same size that we were building which was 5 metres. That was the biggest we could construct on the land we had been offered. The farmer later said he wished he had given us more land so we could build a bigger one!
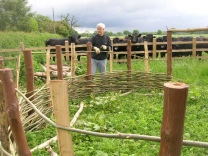
With the posts all erected, we commenced to weave the willow withies and met our first challenge. It was physically impossible to weave the withies between the 1m gapped posts. I came up with the idea of an intermediate ‘floating’ post that only penetrated the ground by a very shallow amount. This would not show in the archaeological record but it certainly worked as can be clearly seen in this image. next part of the construction was the wall-

Bark stripping
Weaving withies
Model roundhouse

Wall plates atop posts
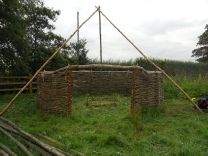
Tripod
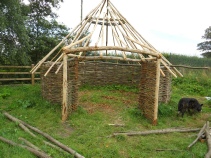
Moving on it was time for the roof beams. We talked this over and decided that our preferred option, to run the beams from the ground to the apex would be too much of a hazard for visiting children as it would reduce the area between the roundhouse and the fence. The whole purpose of the build was to use the structure as an educational resource. We selected the three longest and straightest beams and created a tripod with the bottom of the tripod buried 6 inches into the ground and tied together at the top whilst the beam itself rested on the wall-
At this point we decided to add a porch and this shows the congestion in the apex of the roof and the reason for the ring beam. then the roof continued to completion and finally the roof beams and tripod were all cut to a uniform length.
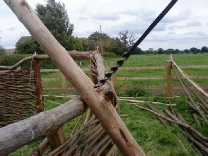
Roof beam fastening
Ring beam
Ring beam installed
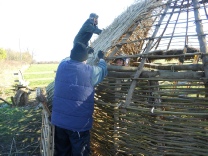
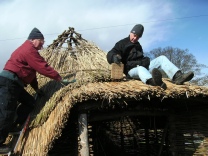
We were ready for thatching, something that we had never done before, not that we had built a roundhouse before either. We tied the thatch supports to the ring beams and beams using sisal cord it being a natural organic material. In the Iron Age bramble runners, nettle fibres, wool or grass rope, sinew or leather strips might have been used or they may have used some entirely different method. Modern thatchers use what they call a sway, which is a split piece of wood, usually ash that is driven into the thatch to hold everything in place. So far as I know, nothing like that has ever been found archaeologically so we made an assumption that the thatch would be tied down. I did use some sways once we had rethatched the roundhouse using fragmites. I decorated the apex with willow withies in a zigzag pattern using sways to peg everything down and it is still in place today. Part of the experiment was to discover the longevity of roundhouses, accepting there would be ongoing maintenance but needing the structure to be viable for 10 years, the length of the loan period for the land.
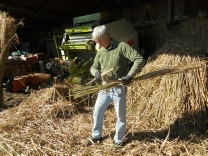
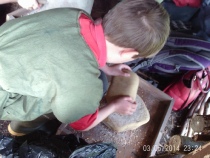
We needed to ‘comb’ the elephant grass to remove unnecessary foliage and flower heads and we did this with a wooden handled long toothed tool seen here in my right hand. This was a tiring and time-
Porch
Stripping reeds
Thatching
Using a leggate
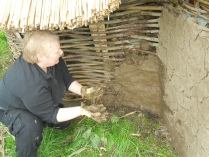
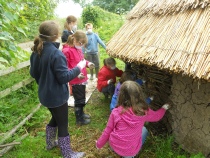
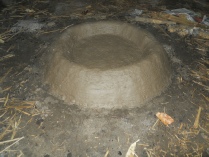
Now the daubing which was great fun. Mixing clay, cow dung, soil and water with chopped straw and ‘treading’ it to the right consistency to ‘wang’ it onto the wattle. Here you see treading in progress with assistance from a group of adults with learning difficulties who worked with us throughout this and our later project. They called themselves the Tuesday Time Team and were great fun to have around and thoroughly enjoyed getting themselves and me covered in daub. As part of our project Jon Kenny ran a session of lessons of an introduction to archaeology which I was privileged to be able to help with. You will recognise some technical terms in there. Wanging is collecting a handful of daub, kneading it into a ball and then throwing it hard so that it penetrates the wattle forming a key. Being vertically challenged was definitely an advantage and raises the serious possibility that this was a job for Iron Age children. I was keen to continue working with the local primary school, as we had been doing for some years and a consultation took place, parents approval sought, Health and Safety and Risk Assessments later we had an agreement that the children should try their hand at daubing. Oh yes they did. Fitted with rubber gloves, masks and goggles the little darlings walked from the school to the site about 1 mile. At first the girls pulled faces and screwed up their noses but in a blink they were into it. Everyone got plastered in mud, including the teachers. We did not get one complaint from parents.
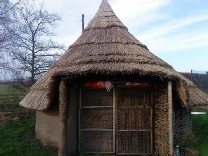
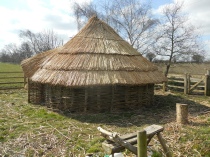
Finished house
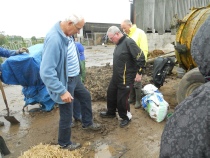
Treading daub
Wanging
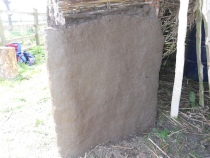
Applying daub
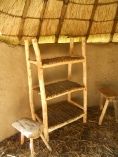
As it was summer the clay dried out too quickly and to counter this, I found that repeated coats of a ‘slip’ made of runny clay wiped over the surface filling in the cracks and shielding the area from wind and sun meant we could achieve a very good surface We made a couple of doors from woven willow and pivoted them on a base board, a bed of woven willow, a sideboard (well shelving) and two stools We were done
We had a topping out ceremony on 31st May 2013. We dug the first posthole on 20th April 2012 so thirteen months from start to finish but we were not working all the time but we did work through all weathers. I painted the inside walls white with lime wash.
I built a hearth and protected it with a guard so we could have school visits and we decorated the walls with shields. The fire was a considerable risk as sparks could easily ignite the thatch so we had a contingency plan as a safety measure.
Interestingly, we considered the fire and the lack of a chimney, not as a problem necessarily but on the following lines. Yes, it was a hazard but the smoke permeated through the thatch to disperse and on so doing killed any bugs that were munching away or laying eggs and multiplying. Apart from its obvious uses of heat and food preparation, hanging fish or meat up in the apex would smoke it and we a therefore had a preservative. I do not know of any evidence archaeologically to support this but it seems a reasonable bi-
Finishing surface
Shelving
Finished
Hearth
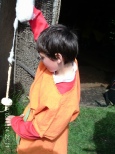
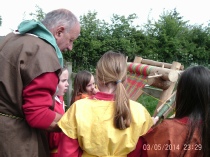
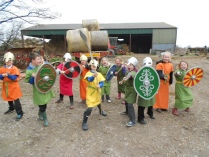
When schools visited, we dressed the children in Iron Age costumes which, with the help of a retired archaeologist between us we made 35 tunics for the boys and 35 dresses for the girls in three different sizes. I then dyed them different bright colours replicating dyes thought to have been used in the Iron Age and made from plants. I even planted some woad plants and made blue body paint. The children were then allowed to make flat bread cakes using flour salt and water which was then cooked on the fire which the children ate with honey, taught them how to grind corn using a saddle and beehive querns, carding the lambswool and then using drop spindles (spindle whorls) and weave using stick and card weaving as well as the loom and use the pole lathe, explained how the ard worked and told them stories round the hearth-

Milling flour
Spinning
Weaving
Pole lathe
The battle
I was interested to discover whether the suggestion that the doorways of roundhouses were situated to face the rising sun on the first day of the Winter Solstice so our repro was built on exactly the same orientation as the one in the field close by. I rose early on 21st December 2014 and here is the result
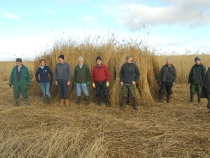
Following some high winds in the autumn two years later we found that a hole had been blown in the thatch on the west side not helped by the fact that the sisal string we had used to secure the thatch had rotted. we had always planned to reyhatch the roundhouse with our preferred material, fragmites or water reed, as and when we had the opportunity. Consequently, I approached the manager of the RSPB nature reserve at Blacktoft Sands and we struck a deal. They would support our HLF funded project by providing free reeds if we would support their HLF funded project by a collaboration between the two groups for publicity purposes. We took a team down to the site and after the reeds had been cut by machine we formed them into yealms and bound them and they were then transported to the roundhouse for a final new thatching of the proper stuff.
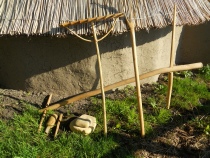
The final part of this project was to create some typical Iron Age tools which would have been familiar to the local tribes 2000 years ago. I made an Ard (scratch plough) , a wooden hay rake, a wooden pitchfork, and a besom broom which was so successful that I made a broom for myself to use at home and for some friends as well.
So that was our first venture into experimental archaeology and by far the biggest. We learned a lot and we had hundreds of children and groups to visit until Covid 19 and spiralling insurance costs put paid to it. The wattle and daub wall has remained untouched since we built it in 2012.
In connection with the roundhouse my colleague made a vertical loom upon which he wove a shawl which he wears as part of his Iron Age costume for visits. He also made a pole-
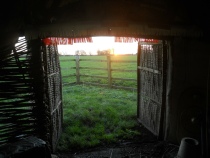
Sunrise
Tools
Harvesting frogmites